
Develop: Prototype
Now that you have described the various aspects of the ritual, you will prototype a mobile application interface using a process known as paper prototyping. Paper prototyping is a quick way to simulate a product before too many resources are used to design and engineer the final product. It works as a kind of model that others can react to, giving designers an insight as to whether they are going in the right direction. The purpose of this prototype is to quickly communicate to your peers how you intend to use a mobile device application to facilitate a ritual.
Tools and Materials
- Pen or marker
- Assorted paper
- Scissors
- Ruler
- Cellphone Camera
- Invisionapp.com (free education account) Sign up for an education account with this code: 56-73-13-19
- InVision mobile app (free download)
- Paper Prototyping PDF: PDF Download
Technical resources
Cropping images:
Working with InVisionApp:
Prototyping Instructions
A. Making a paper prototype
- List the parts of the storyboard that can translate into mobile application functions. For instance, if the ritual has a time component, then you can build in a timed audio cue into the prototype (represented visually).
- Find UI inspiration: http://collectui.com/, https://dribbble.com/, http://www.mobile-patterns.com/
- Create the paper interface components
- Download and print the Paper Prototyping PDF.
- Draw and cut out interface elements including buttons, images, icons, navigation, text, and other elements needed to prototype your app interface.
- Cut out reusable interface elements so they can be rearranged for each application screen.
- Arrange the components for each screen and take a picture with your phone's camera.
- Crop all images to the crop marks.
- Upload images to a project folder on box.psu.edu to keep a backup.
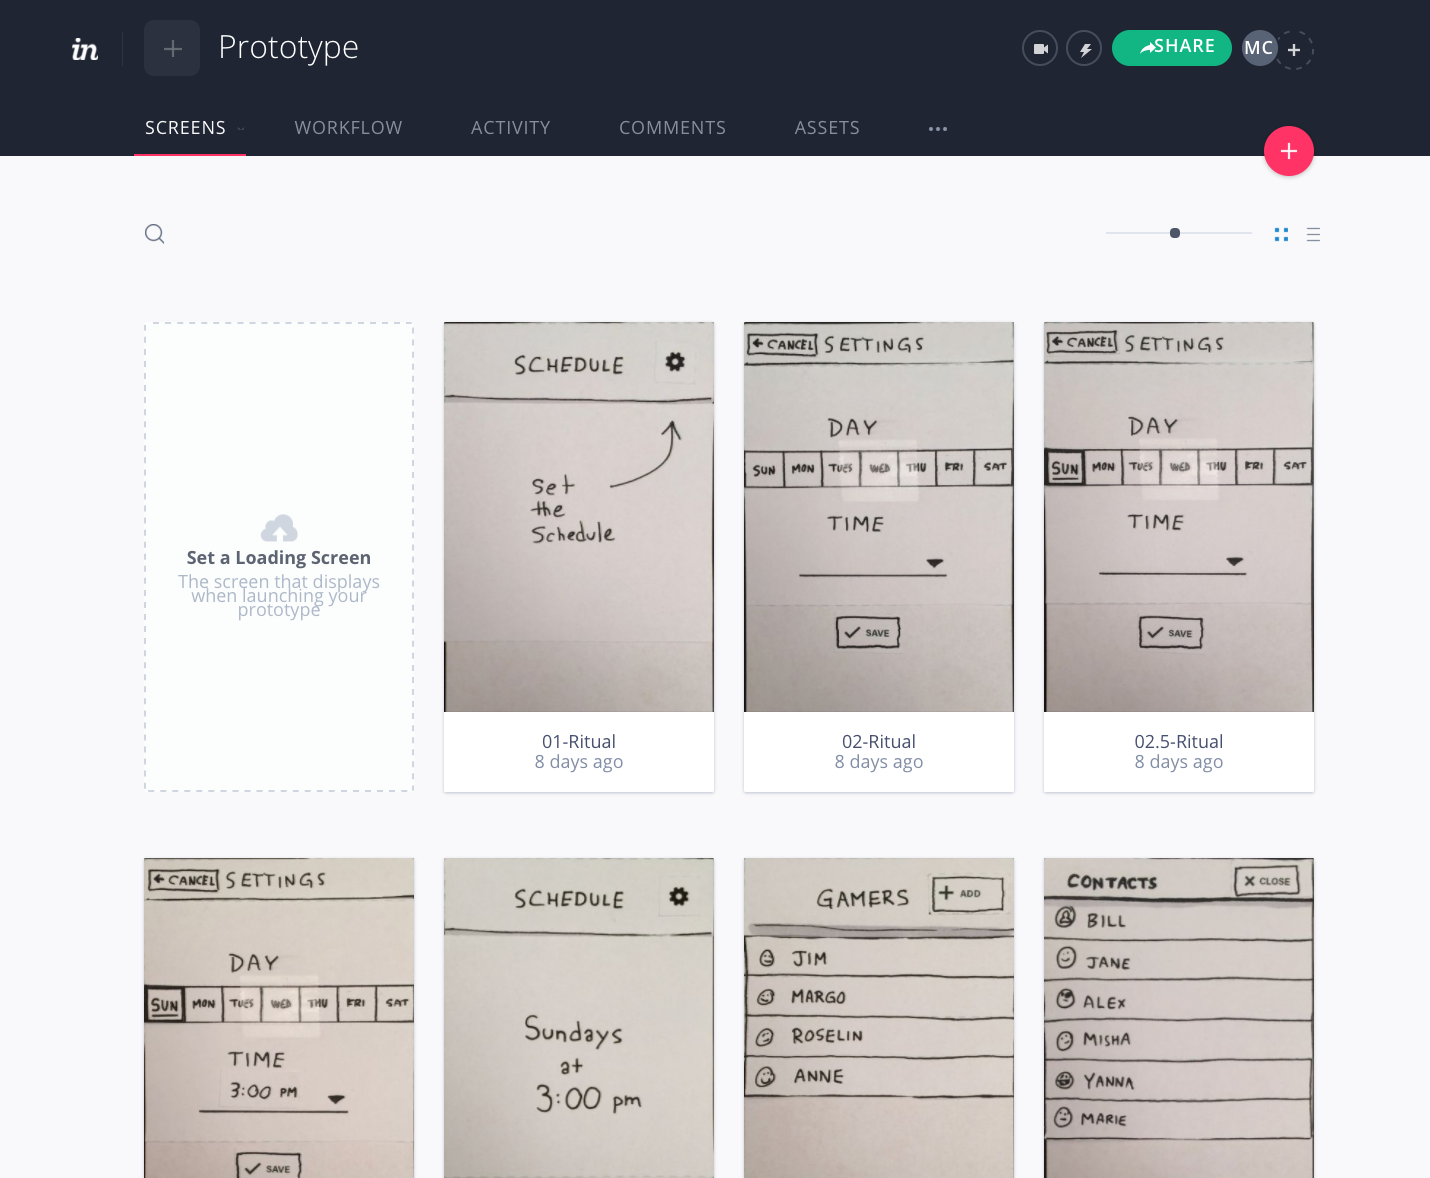
B. Making an interactive prototype
- See example prototype: https://invis.io/65BREK4PV
- If you have not done so already, view the InvisionApp tutorials.
- Upload prototype interfaces to InvisionApp
- Move the image files from your phone or camera to your computer.
- Crop each image to the screen border using the cropping methods suggested in the technical resources.
- Sign into invisionapp.com and create a new project. Choose the phone portrait template.
- Upload your cropped images to InVision.
- Build interactivity using InVision's built-in hotspot and linking tools.
- Test that all the desired interactivity is functioning.
- Click on the More button (three dots) and click Download Prototype. Choose the export a ZIP file of the project.
- Click the share button and choose share public link at the bottom to copy the public share link.
Prototype Description
- Start your description with the following: "This is a prototype for an app that..." To complete the sentence, synthesize your brainstorming and storyboard ideas.
- Describe the ritual in detail and how the prototype app is intended to work. How does it support the ritual?
- Write clearly, and check for grammar and spelling errors.
Instructions
- Create the interactive prototype using the prototyping instructions
- Download a ZIP archive of your prototype from InVision
- Copy the InVision project's Public Share Link
- Write a design document according to the document requirements
Post work to the Studio
Use the file format indicated in each step. You must obtain prior approval to deviate from these upload requirements. Please check that your work has uploaded properly.
- Upload the
.ziparchive file to Studio - Submit the URL of the Public Share Link to the InvisionApp Live Prototype to the Studio together with Prototype Description to the Studio.